


Your new is just around the corner
Sign up for insight into the latest design trends from our newsletter
You're on the list
By signing up, you agree to receive email marketing.
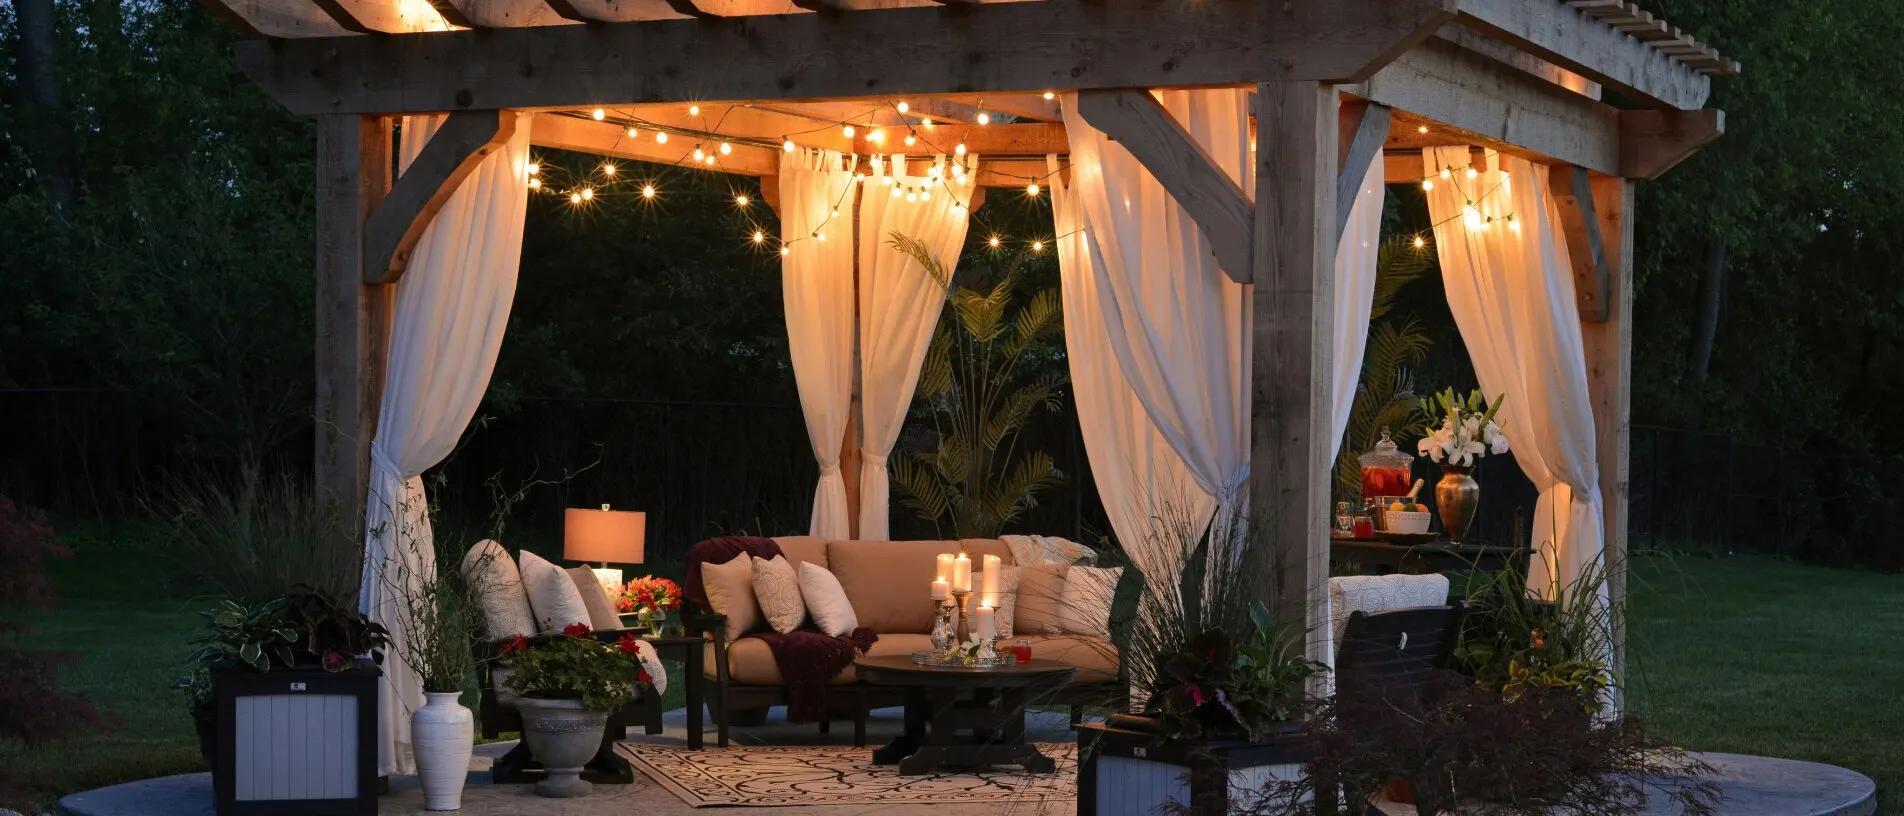

Want to enjoy your beautiful backyard from early spring to late fall, from early morning coffee dates to late-night parties? Add inviting warmth and a whimsical ambiance by hanging string lights — also known as fairy lights. Here’s how to hang your string lights safely and style them for your unique space and aesthetic.
Depending on where you would like your string lights, there are a myriad of materials you may need before you start the project. From a covered patio to a great backyard space, framed by trees or not, you here are the basic tools you’ll need before you transform your space.
String Lights
Ladder
Measuring tape
Drill
Screw hooks or zip ties
Constructed with flexible wires, fairy lights can easily accommodate different layouts. Here are some ideas for how and where you should drape your new lights:
If available, trees are the best support systems for stringing fairy lights. This placement will create the visual intrigue of floating lights against the dark sky.
To get started, we recommend first using a fishing line or guide wire — measured to the length of your string lights — and hanging it from tree to tree. If you like a more structured look, you can tighten the lines; if you want a more casual vibe, loose loops will create the atmosphere you’re looking for. We also recommend you string your to be lights about 8–10 feet off the ground. That way it’ll be high enough that the hot bulbs don’t become an obstacle for walking and standing guests.
Drill guide holes into the trees where you’ll post your string lights and then install a hook into each hole. Or you can avoid creating a hole in your trees by using a zip tie to secure the fairy light wire onto the branch.
Give a slight tug to ensure the hook is secure before you thread the string lights onto the hooks.
Pro tip: If you only have one tree with a sturdy trunk, you can use it as the base to hang multiple lines of fairy lights.
Having a covered patio makes adding fairy lights easier than stringing your lights between numerous trees and branches. Here are some styling ideas:
Wrap your lights around the edges of the patio.
Drape lines of your fairy lights from one corner.
If you have a back wall to your covered patio, you can loop your lights or zigzag them from floor to ceiling across the wall, creating a glam backdrop.
Have a pendant light or fan on the ceiling? Use your string lights to center the fixture as a focal point to add symmetry to the space.
Wrapping fairy lights or even multi-colored Christmas lights around the railing of your deck or looping them across the railing is simple yet effective. It will set a welcoming and cozy tone for the atmosphere. To make it a more permanent fixture, simply staple or tape the wires to the railing.
Styling string lights without a trellis, overhang, or trees takes a little more effort, but it is certainly not impossible. You just need a few extra tools and materials to achieve the desired look.
Body Long
Wooden posts
Post-hole diggers or large planters (resin or wood)
2 L-brackets if you are using a planter
Quikrete
Leveler
Plant bracket or screw hooks
Once you have all your materials, you are ready to start your new project. Follow this easy step-by-step guide:
Similar to the process of hanging lights from trees, use fishing line or guide wire to measure out where you’ll hang your lights. This will ensure you have the right length. As you figure out the positioning of the lighting, mark the spots where your wooden posts will go. Or, if you’re using large planters in lieu of posts, simply place them in designated spots.
For wooden posts, use your post-hole digger to create the hole in the previously marked areas. Once you have dug a deep enough hole, place the pole in the center and use your leveler to ensure it is standing straight. For planters, you will need to center your post within the planter and use the leveler to ensure it is straight. Secure the post to the planter using L brackets.
To stabilize your wooden post in both cases, we recommend mixing your Quikrete with water in a bucket or barrel, then mixing it with a metal shovel. Once thoroughly mixed, carefully pour it around the post. For wooden posts, we recommend filling the hole only three-quarters of the way with Quikrete so you can add dirt and plant flowers or place garden decor around your post.
Once the cement has solidified, you can drill in your plant brackets or hooks and hang up your lights.
You can easily create a space that highlights your space and adds warm ambiance, setting the mood for quality time with friends and family. If you’re ready to transform your patio setup, furniture.com has your back with a range of outdoor lighting for every style and space.
You're on the list
By signing up, you agree to receive email marketing.