


Your new is just around the corner
Sign up for insight into the latest design trends from our newsletter
You're on the list
By signing up, you agree to receive email marketing.

There was a time when overt signs of wear and tear on furniture meant it was an antique.
But today, seeing apparent damage on relatively new furniture is common. Many manufacturers add these effects to give the furniture a "distressed" look, making it more distinguished and adding allure to a space.
Here’s a look at how distressed furniture can easily fit into various interior design themes. We'll also provide a step-by-step guide to help you revitalize old pieces with DIY distressing techniques.
Chips, cracks, dents, and a faded finish are telltale signs of distressed furniture. In fact, a professionally distressed piece will look very similar to one that's gathered blemishes and imperfections over the years. The difference is that the signs of wear in distressed furniture are intentional.
Distressing techniques — which usually involve sanding, scraping, and staining — make chairs, tables, and dressers look aged and worn while remaining in excellent structural condition.
Most of the tools you'll need for distressing furniture are everyday things in the garage. The rest are widely available in hardware stores:
Protective gear: Gloves, masks, and safety glasses are essential for all DIY projects.
Sandpaper: Get sheets in 80 grit for rough distressing and 120-220 grit for finer effects.
Sanding block: These provide control and let you sand evenly.
Steel wool: Grade #0000 wools are excellent for subtle distressing and smoothing.
Hammer or chains: These tools are great for mimicking accidental dents and scrapes.
Wire brush: This creates a weathered, textured surface with scratches and gouges.
Paint: Milk (or powdered) paint is the most popular, but chalk and latex also work.
Paint stripper: This removes existing paint and gives you a clean surface.
Paintbrushes or foam rollers: Use rollers on larger surface areas and brushes for detailing.
Wood stains: These are critical for adding depth and coloration.
Tack cloths: Use these to remove sanding dust before applying the finish.
Wax or sealant: Create a protective finish and adjust the sheen.
Follow these steps to quickly and easily distress furniture at home:
Choose pieces that are in good structural condition, sturdy, and have plenty of surface area. Solid wood responds to distressing like a charm, but you can also work on metal or varnishes.
You can't distress dirty or dusty furniture, so make sure you thoroughly clean to remove all dirt and grime, including anything embedded in the nooks and crannies. For older pieces, a stronger solution like Trisodium phosphate will do the trick.
Sanding furniture before distressing is a crucial step in achieving a well-worn, vintage look. It helps to smooth out any imperfections, remove old finishes, and create a clean surface for new paint or stain to adhere to. By sanding, you can also expose the natural grain of the wood, allowing for a more authentic distressed effect. Additionally, it ensures that the distressing process, such as sanding through layers of paint or scuffing edges, will reveal the underlying wood or base layers more evenly. Proper sanding sets the foundation for a professional-looking, distressed finish that feels natural and timeless.
Mix milk paint with water at a 1:1 ratio and apply a base coat. This type of paint provides a beautifully aged look without needing a primer. The straightforward ratio also makes customization easy: Use more paint for a thicker coat or more water for a more washed look.
There are a few ways to distress a freshly-painted (and dried!) piece:
Use sandpaper to gently remove layers from raised surfaces or edges where natural wear would occur.
For something more rugged, beat the wood with chains or a hammer to get deeper marks and texture.
Apply paint strippers to commonly used surfaces and strip your furniture for an authentic, worn effect.
Alternate between dark and light wax to create a distressed look that's distinctly artful.
Put wet paper on the surface, paint over it, then remove it to create textured patterns.
Thin down white paint, brush it on, let it sit briefly, then wipe off to get a fade.
Once you're satisfied with the look, you'll want to apply a wax or sealant to protect the furniture and enhance the distressed effect. Finishes also help preserve distressed furniture's new, old look!
If you're using milk paint on any outdoor pieces, try sealing them with Tung oil for better durability and a longer-lasting finish.
Periodic upkeep is important for all furniture, but distressed pieces arguably need it the most! Since distressed furniture's weathered look is deliberate, regular maintenance is essential to maintain its appearance. This ensures the strategic blemishes don’t turn into actual damage.
Most people distress furniture for three reasons:
As a creative outlet: Distressing is as much art as it is science. The creative and personal process produces a pattern unique to each piece.
For the look: The antique aesthetic of distressed furniture lends vintage charm and character to a space, making it a great piece to blend different styles.
To save money: Distressed furniture is also excellent for revitalizing your home on a budget. Giving old furniture or a free-piece-from-the-curb a second life means you can bring warmth and texture to modern spaces at a fraction of what a new piece would cost.
Learn moreOne of the best things about distressed furniture is that it blends with different styles.
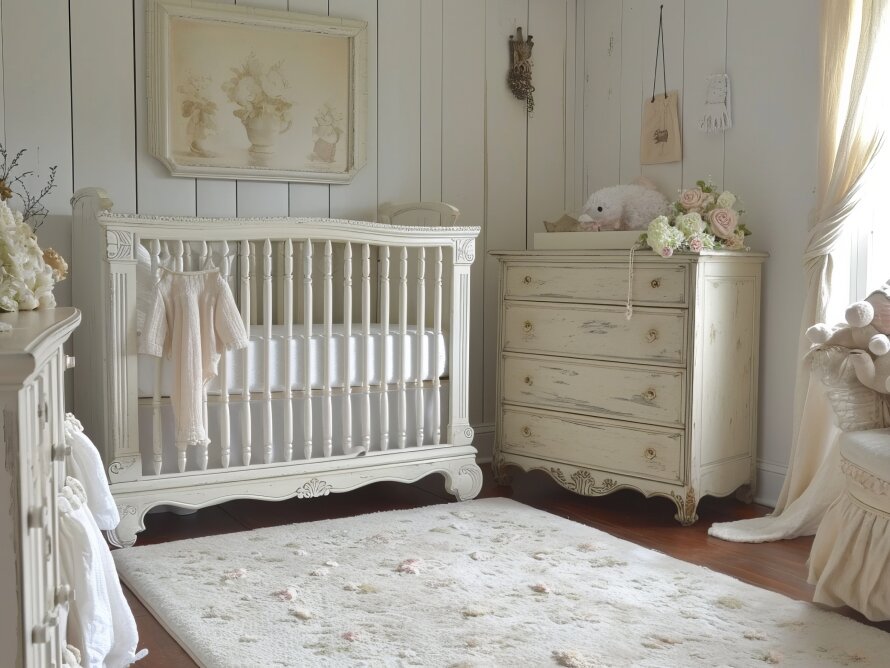
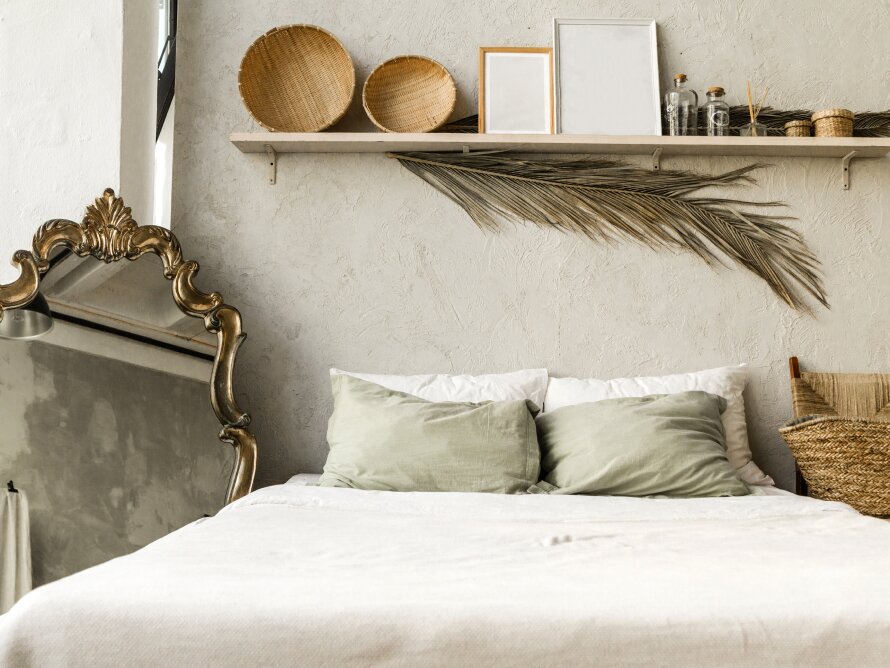
Design palettes that emphasize natural elements and earthy tones work best, and distressed pieces are a natural fit in rustic, farmhouse, bohemian, shabby chic, and vintage decor.
You can also blend them with modern elements to create an eclectic, eye-catching look. White distressed furniture, in particular, works beautifully in rooms dominated by sleek, clean lines.
Skipping DIY and purchasing a pre-distressed piece of furniture can save time and ensure a polished, professional look without the effort of tackling the project yourself. While DIY distressing can be fun and creative, it often requires multiple steps, including sanding, painting, and strategic wear-and-tear techniques, which can be time-consuming and sometimes tricky to master. Buying a distressed piece from a store or artisan guarantees consistency in the finish and often incorporates higher-quality craftsmanship. It also allows you to immediately enjoy a beautifully worn, vintage-style piece without worrying about mistakes or the learning curve of distressing furniture on your own.
If you've ever distressed your furniture, you know the tremendous satisfaction of molding its aesthetic. Since the techniques we've discussed provide nearly unlimited customization options, distressing furniture is also a chance to showcase your personality!
Whether you stumble on a special piece at a garage sale, are upcycling an old dresser, or love a good thrift store find, distressing furniture is one of the best ways to bring creativity and style to a room.
Explore More
You're on the list
By signing up, you agree to receive email marketing.